Measuring a room for carpet installation might sound as thrilling as watching paint dry, but it doesn’t have to be! In fact, getting those measurements right is the secret sauce to a flawless carpet installation. Imagine stepping onto a plush, perfectly fitted carpet that feels like walking on clouds. Who wouldn’t want that?
Table of Contents
ToggleUnderstanding Room Measurements
Accurate room measurements are essential for successful carpet installation. Correctly measuring ensures a snug fit and optimal comfort.
Importance of Accurate Measurements
Measuring correctly affects the overall quality and appearance of a room. A close estimate of dimensions prevents excess waste and unnecessary costs. Fitting carpet requires precision; even slight miscalculations result in gaps or overlaps. Satisfied homeowners appreciate the enhanced aesthetic and feel of their spaces when carpet fits perfectly. Expert installers emphasize double-checking measurements, as they facilitate a seamless process from start to finish.
Common Measurement Units
In flooring projects, specific units of measurement are standard. Feet and inches are commonly used in the United States, providing clarity for homeowners and contractors. While metric units like centimeters and meters serve globally, familiarity with imperial units simplifies local projects. When measuring room dimensions, using a tape measure ensures accuracy; often, rounding to the nearest inch will suffice. Commonly, carpets are sold by the square yard, which involves converting overall area from square feet to square yards for proper ordering.
Tools You Will Need
Measuring a room for carpet installation requires specific tools to ensure precision. Gathering the right equipment streamlines the process, leading to a perfect fit.
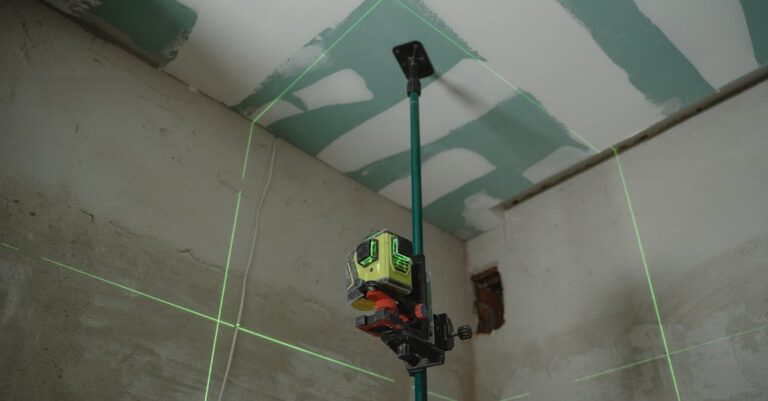
Measuring Tape
Measuring tape is crucial for accurately assessing room dimensions. Choose a tape that measures at least 25 feet for versatility. When measuring, extend the tape along the longest and widest parts of the room. Reading measurements becomes easier with clear markings. If the room has irregular angles, capturing them requires moving the tape accordingly.
Notepad and Pencil
Notepad and pencil serve as essential tools for jotting down measurements. Write each dimension clearly to avoid confusion later. Organizing notes by labeling each room will enhance clarity. Consider noting any obstacles like doorways or windows as well. This information helps in visualizing how the carpet aligns within the space. Reviewing the notes before the installation can prevent mistakes.
Calculator
Calculator usage simplifies conversion and overall calculations. When ordering carpet, converting square feet to square yards becomes necessary. Multiplying room dimensions to find the total area makes calculations straightforward. If there are any oddly shaped areas, breaking them down into squares and rectangles simplifies the math. Enter the measurements to achieve accurate results, ensuring there’s no overestimation or underestimation.
Step-by-Step Guide to Measure a Room
Measuring a room accurately requires a clear process. Follow these steps to ensure perfect measurements for carpet installation.
Measuring Length and Width
Begin by clearing the area of any furniture or obstacles. Use a measuring tape, preferably at least 25 feet long, for the task. Measure the longest wall to determine length, then measure the widest wall for width. Record these dimensions on your notepad, noting the room’s overall shape. Always round to the nearest inch for accuracy. This straightforward approach guarantees dimensions that help in calculating total area and selecting the right carpet size.
Accounting for Irregular Shapes
Take into account any unusual features or angles in your room. Identify spaces like alcoves or alcove areas that could affect measurements. Divide the area into smaller rectangles or squares for easier calculations. Measure each section separately, and add the results to find the total area. Note variations in shape to influence carpet fitting later. This method simplifies complex measurements and prevents calculation errors.
Measuring Nooks and Closets
Measure small sections like nooks and closets separately. Start with the closet by measuring its width and depth from wall to wall. Ensure to document any variations in length if there are shelves or hanging rods. Nooks require similar attention; measure at the widest and longest points. Remember to consider door openings or any physical barriers that might affect carpet installation. These additional measurements contribute to an accurate total, ensuring a seamless finish in every corner of the room.
Calculating Carpet Requirements
Accurate calculations are vital for carpet requirements. These calculations ensure enough carpet material for a successful installation.
Determining Square Footage
To find the square footage of a room, measure the length and width in feet. Multiply these dimensions. For example, a room measuring 12 feet by 15 feet results in 180 square feet. For irregularly shaped rooms, divide the area into smaller rectangles or squares. Calculate the square footage for each section and then add them together. This process guarantees a comprehensive total that reflects the room’s actual size. Recognizing that carpets are sold by the square yard, convert square footage to square yards by dividing the total square feet by nine.
Allowing for Waste and Seams
Including extra material accommodates cutting and fitting. Carpet installers recommend adding 10% to the total square footage. This allowance accounts for mistakes or miscalculations. Seams may occur when fitting larger rooms, necessitating additional carpet. Measure the length of seams, especially in complex layouts. Additional carpet ensures a seamless appearance and minimizes waste during installation. Being proactive about waste and seams leads to a more efficient and aesthetically pleasing result.
Accurate measurements are the foundation of a successful carpet installation. By following the outlined steps and utilizing the right tools homeowners can achieve a snug fit that enhances both comfort and aesthetics. Taking the time to measure correctly not only prevents costly mistakes but also ensures a polished finish in every corner of the room. With careful planning and attention to detail homeowners can transform their spaces into inviting areas that feel like a dream underfoot. Embracing this meticulous approach will lead to a satisfying installation experience and a beautiful result that lasts for years to come.